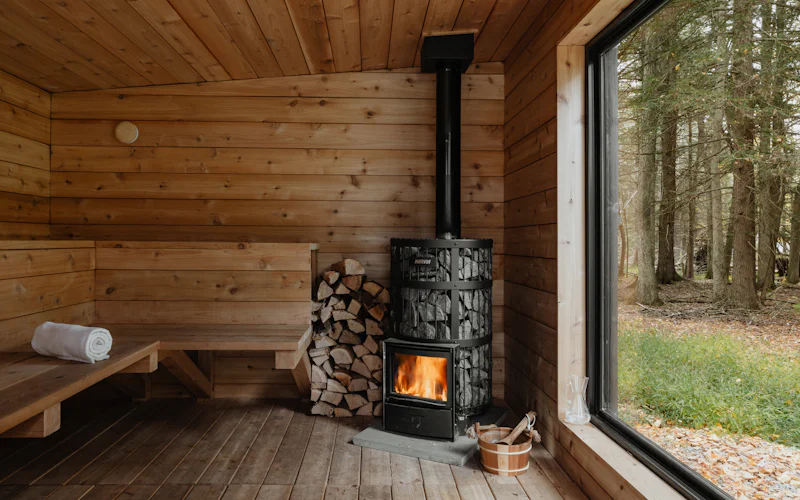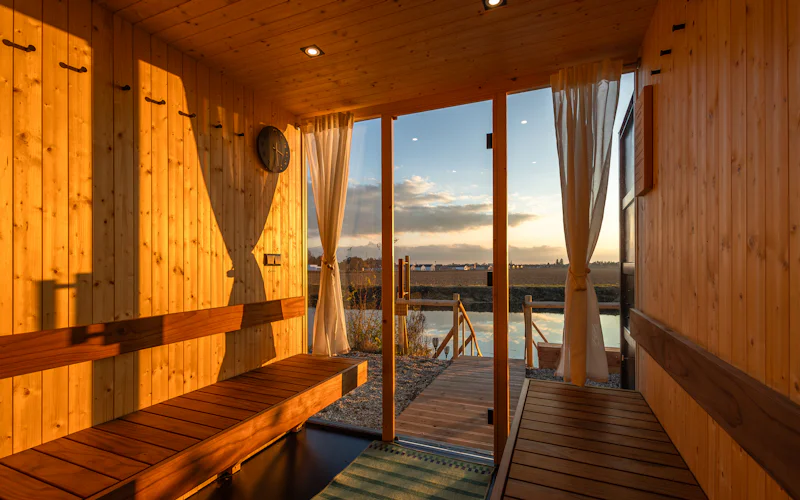
Building your own sauna is one of the most satisfying projects you can take on, and it can cost a fraction of a ready-made one. It's also a building that gets very hot, very wet and is used by people in swimwear, so a few things really matter: the heater, the insulation and vapour barrier, ventilation, the electrics and the door.
This guide walks through how to build a sauna step by step, from choosing the size to the first firing, with notes on Irish weather, electrics and planning. If you'd rather buy one ready-made, see our guide to buying an outdoor sauna in Ireland.
Kit, conversion or build from scratch?
| Barrel or cabin kit | Convert a shed or room | Build from scratch | |
|---|---|---|---|
| Skill needed | Moderate: flat-pack assembly | Moderate to high | High: framing, insulation, finishing |
| Time | A weekend or two | Several weekends | Weeks |
| Control over design | Limited | Some | Full |
| Watch out for | Delivery to tight gardens, roof covering | Existing damp, poor insulation | Getting the vapour barrier and ventilation right |
Whichever route you take, the principles below apply. A kit handles most of them for you; a scratch build means getting each one right yourself.
Step 1: choose the size
Smaller saunas heat faster and use less energy, so build for how many people will really use it, not the most you might ever host.
- Bench length: allow about 60 cm of bench per person sitting, or about 2 m if you want to lie down.
- Ceiling height: around 2.1 to 2.3 m is typical. Higher ceilings trap heat up out of reach and take longer to warm.
- Bench height: the top bench usually sits about 1 to 1.2 m below the ceiling, so your head is in the hot zone without touching the ceiling.
- Volume: multiply length by width by height. You'll need this to size the heater.
Step 2: pick wood-fired or electric
| Wood-fired stove | Electric heater | |
|---|---|---|
| Feel | Soft heat, crackle and smell of wood | Even, controllable heat |
| Install | Flue or chimney, safe clearances to timber | Dedicated circuit from a registered electrical contractor |
| Heat-up | Usually 45 to 90 minutes | Usually 30 to 60 minutes |
| Running | Dry, seasoned wood | Electricity, often with a timer or app |
Heaters are sized to the room. A common rule of thumb from manufacturers is roughly 1 kW of electric heater for every cubic metre or so, with extra allowance for glass, stone or poorly insulated walls. Always follow the heater maker's sizing table and clearances: they're there for fire safety.
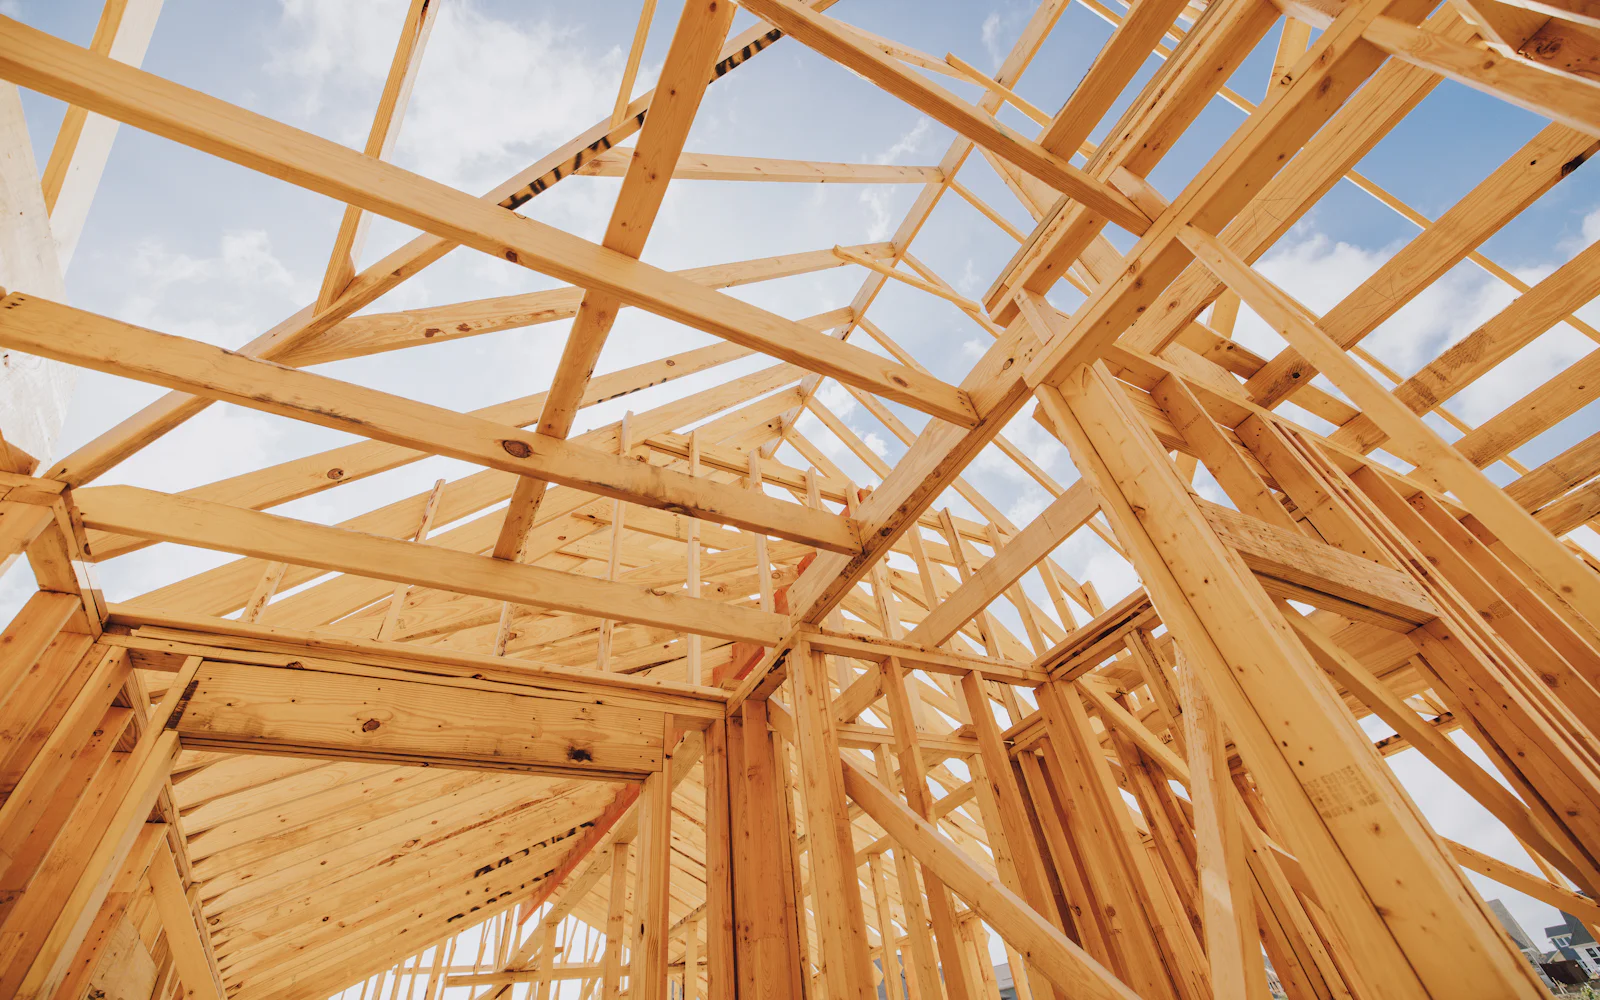
Step 3: build the frame and floor
Most garden saunas sit on a level concrete slab, paving or a sturdy timber deck, raised enough for water to drain away and air to move underneath. Inside, a tiled or concrete floor that can get wet is ideal, with removable slatted duckboards on top for comfort. If you're building in a wet Irish garden, keep the base well clear of standing water.
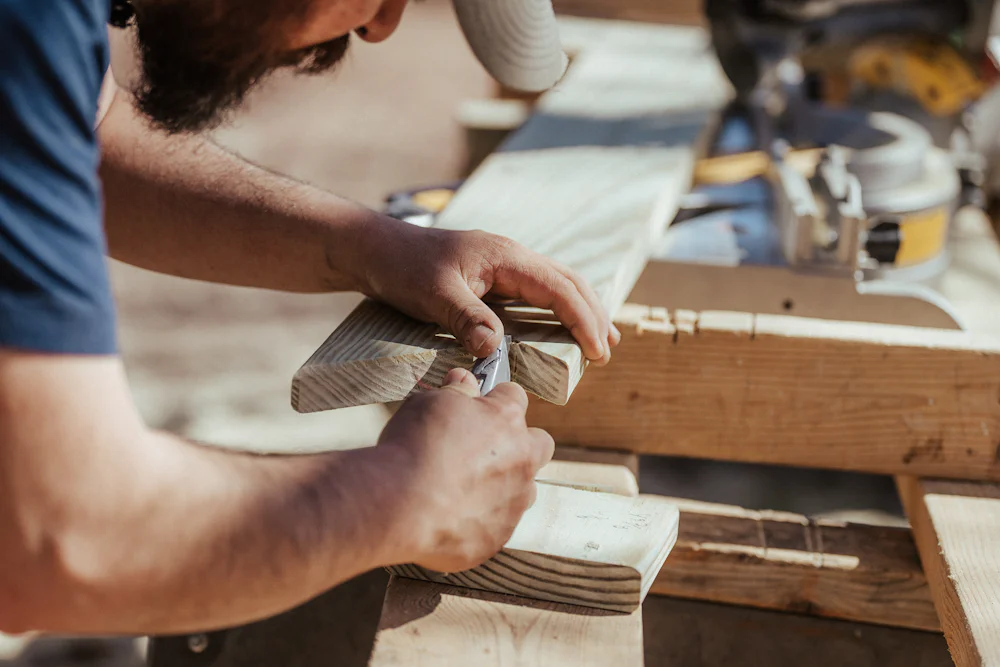
Step 4: insulate and add the vapour barrier
This is the step that decides whether your sauna heats quickly and lasts. Warm, wet air has to be kept out of the wall and ceiling cavities, or it condenses and rots the structure.
Insulate
Fill the wall and ceiling cavities with mineral wool insulation. The ceiling matters most, because heat rises.
Add a foil vapour barrier
Fix sauna foil (aluminium foil barrier) over the insulation on the warm, inside face, shiny side in. Overlap the joints and seal them with foil tape.
Leave an air gap
Fix thin battens over the foil so there's a small air gap behind the cladding. It helps the timber dry out after each session.
Clad the inside
Line the walls and ceiling with tongue-and-groove timber, usually laid so water runs down, not into, the joints.
Step 5: choose the right timber
- Walls and ceiling: untreated softwoods like spruce or pine, or thermo-treated timber, which handles moisture well. Western red cedar is a popular, more expensive option.
- Benches: timbers that stay cooler to the touch and have no resin, such as aspen, alder or thermo-treated aspen. Round off edges and hide screws from below.
- Outside: the outer skin needs proper weather protection, a good roof covering and regular treatment in Irish weather. Only the inside stays untreated.
Step 6: benches, door and ventilation
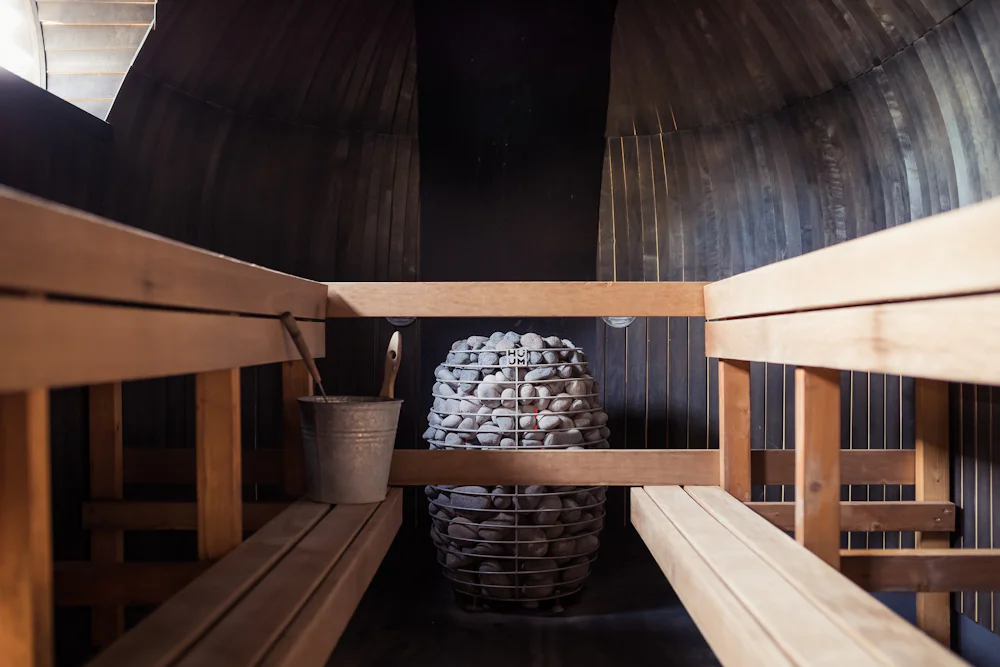
- Benches: two or three levels give people a choice of heat. Leave a small gap behind the top bench so air can circulate and the wall stays dry.
- Heater guard: fit a timber guard around the heater so nobody can lean on it.
- Door: it must open outwards, with no lock, so someone feeling faint can push it open. Use toughened safety glass if it's glazed, and leave a small gap at the bottom for air.
- Ventilation: bring fresh air in low, near or below the heater, and let it out higher up on the opposite side. Wood stoves draw their own combustion air, so follow the stove maker's guidance. Good ventilation keeps the air fresh and stops the room feeling stuffy.
- Lighting: use light fittings rated for sauna temperatures, mounted low on the wall away from the heater.
Step 7: electrics and fire safety
If you're fitting an electric heater, the new circuit, the heater connection and any lighting must be installed and certified by a registered electrical contractor. In Ireland, you can find one through Safe Electric. Outdoor supplies need RCD protection, and the cable run to the end of the garden can add a lot to the cost, so get a quote early.
For a wood-fired stove, follow the manufacturer's minimum clearances to timber, use a proper flue or chimney system with heat shields where it passes through the roof, and keep a carbon monoxide alarm in the changing area or any enclosed space nearby. Get the flue swept regularly and burn only dry, seasoned wood: solid fuel regulations signed in 2022 restrict the sale of wet wood for home heating in Ireland.
Step 8: planning permission and placement
According to Citizens Information, you can generally put a shed or similar structure at the back or side of your house without planning permission as long as it doesn't extend in front of the building line, is no more than 4 m high with a tiled or slated pitched roof (3 m with any other roof), has a floor area of no more than 30 square metres together with any similar structures, leaves at least 25 square metres of open space, matches the finish of the house, and isn't lived in or used commercially.
Step 9: first firing and care
Burn it in
Run the heater empty, door slightly open, for an hour or two before the first use to burn off any manufacturing residue.
Check temperatures
Make sure the room reaches 70 to 90°C and that no surfaces near the heater get dangerously hot.
Dry it out
After every session, leave the door and vents open so the timber dries.
Maintain
Scrub benches with water now and then, sand out marks, check the roof and outer timber every year, and replace cracked heater stones.
What does it cost?
Costs vary hugely with size, timber, heater and how much you do yourself, so it's worth pricing your own materials list. As a rough guide, the big items are the heater, the timber cladding and benches, insulation and foil, the door, and, for electric heaters, the electrical work. For comparison, ready-made small barrel saunas in Ireland typically start from around €4,000 to €8,000 delivered.
Before you build, it's worth trying a few public saunas to work out what you like: barrel or cabin, wood or electric, how hot and how big. Find one near you by county or on the map.